
How to auto organize Google Drive with Apps Script
Google drive root folders are a mess
Do you use Google products like Google Sheets?
Do you use Google Drive to synchronize and backup your work?
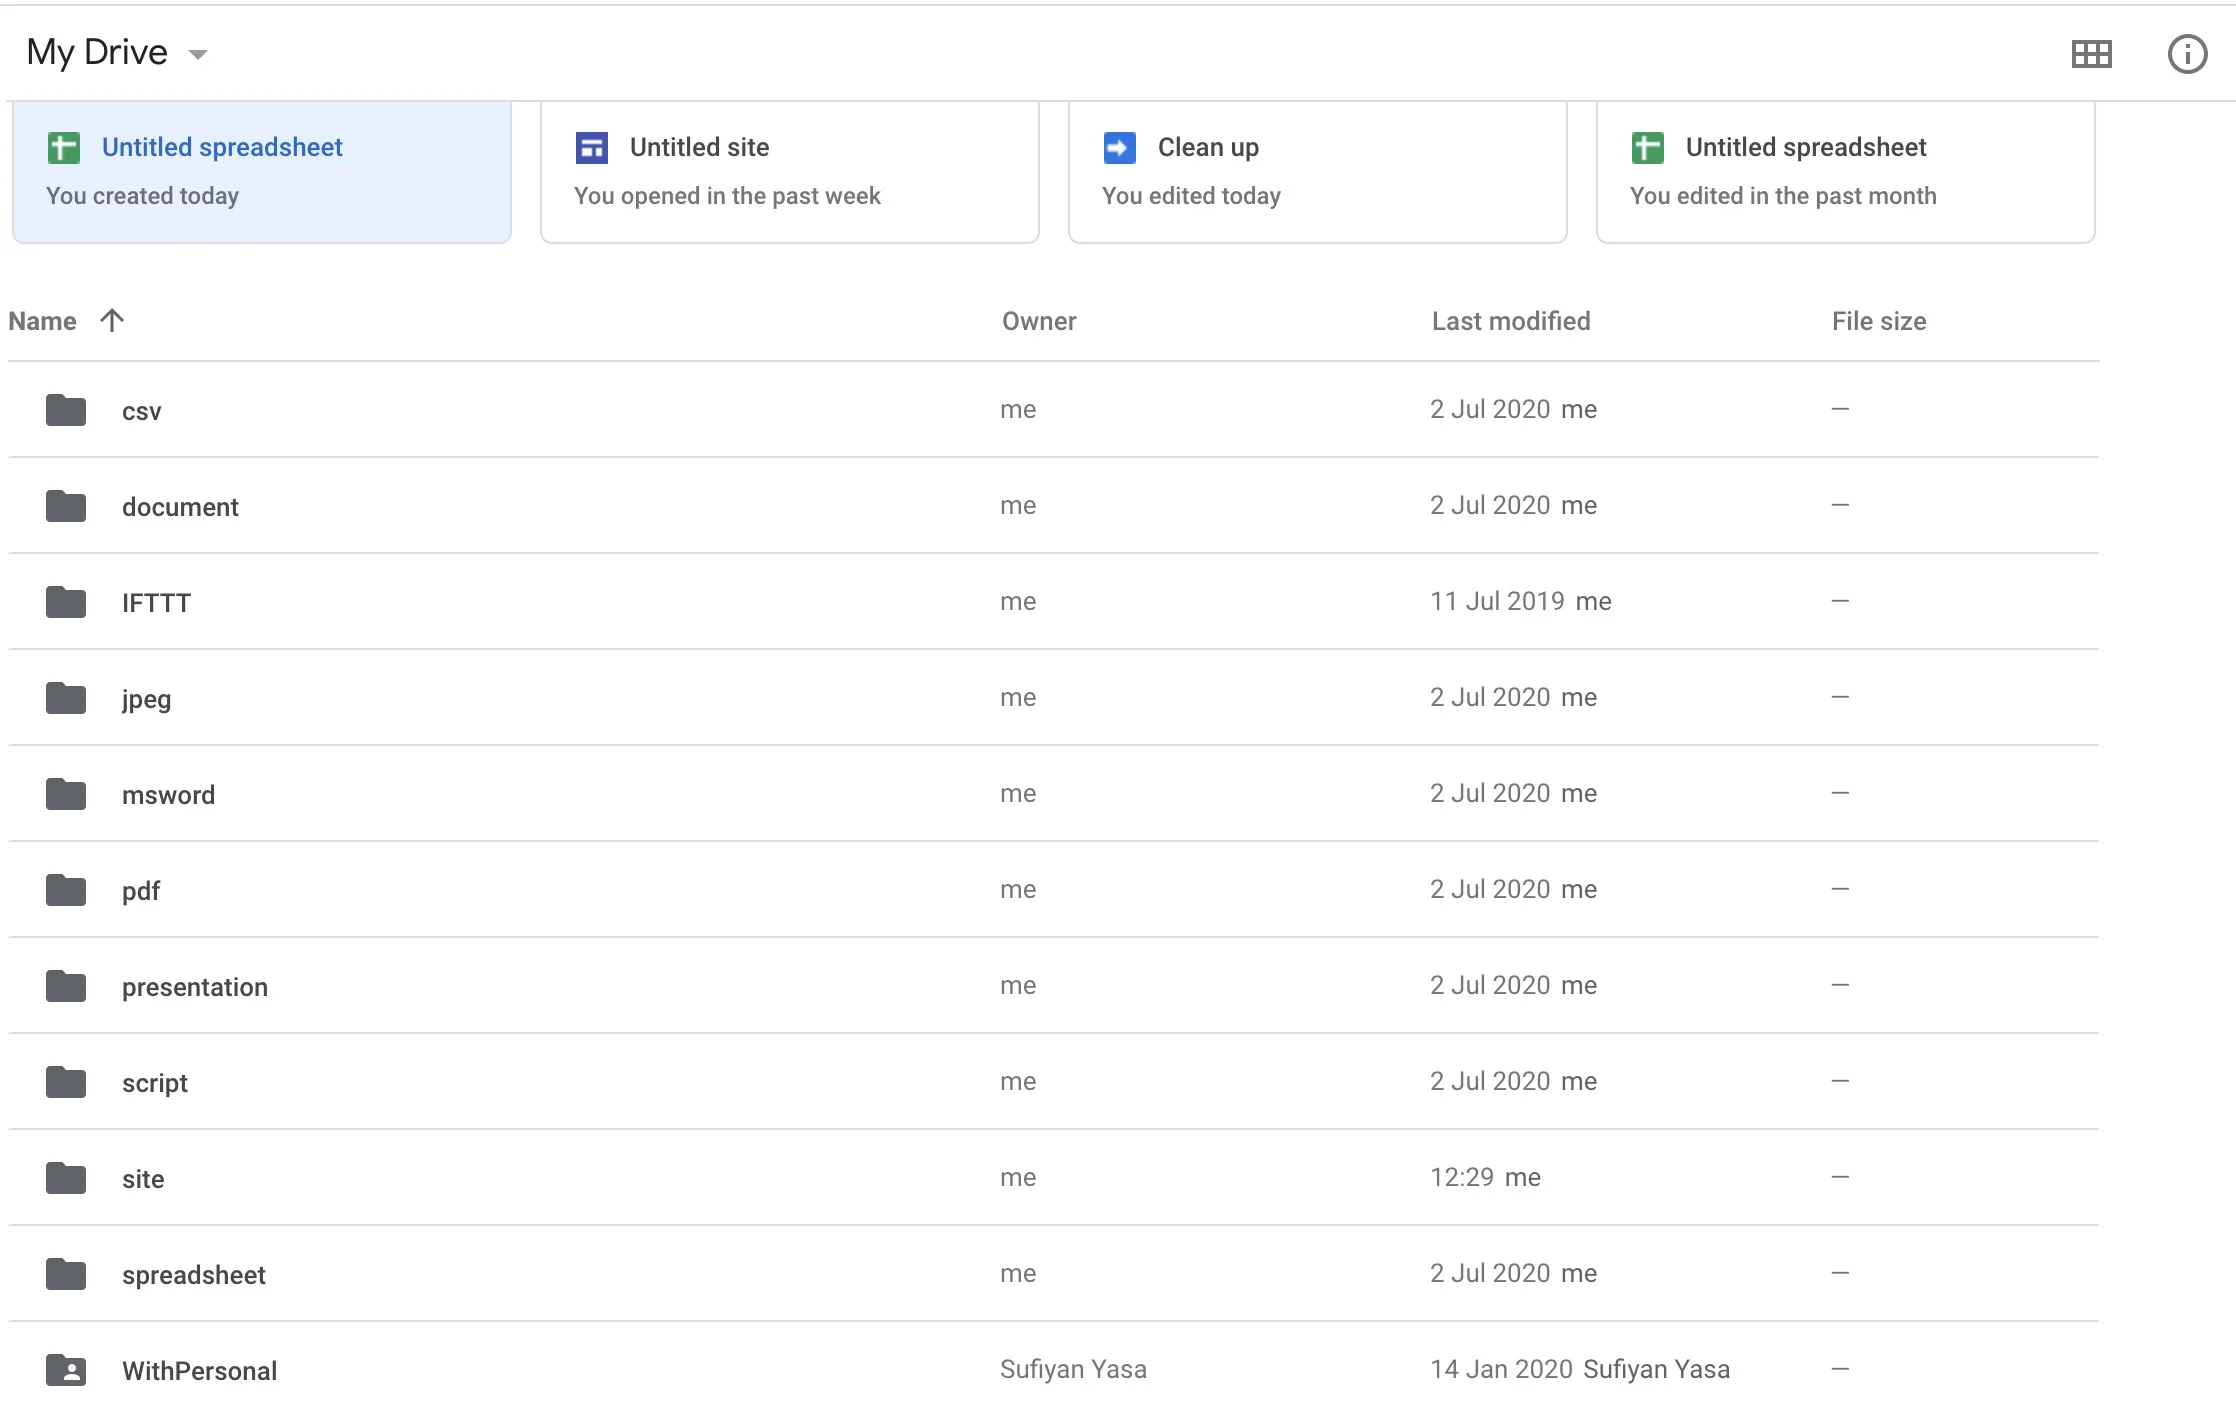
If yes - Does your Google Drive root folder looks cluttered like this?
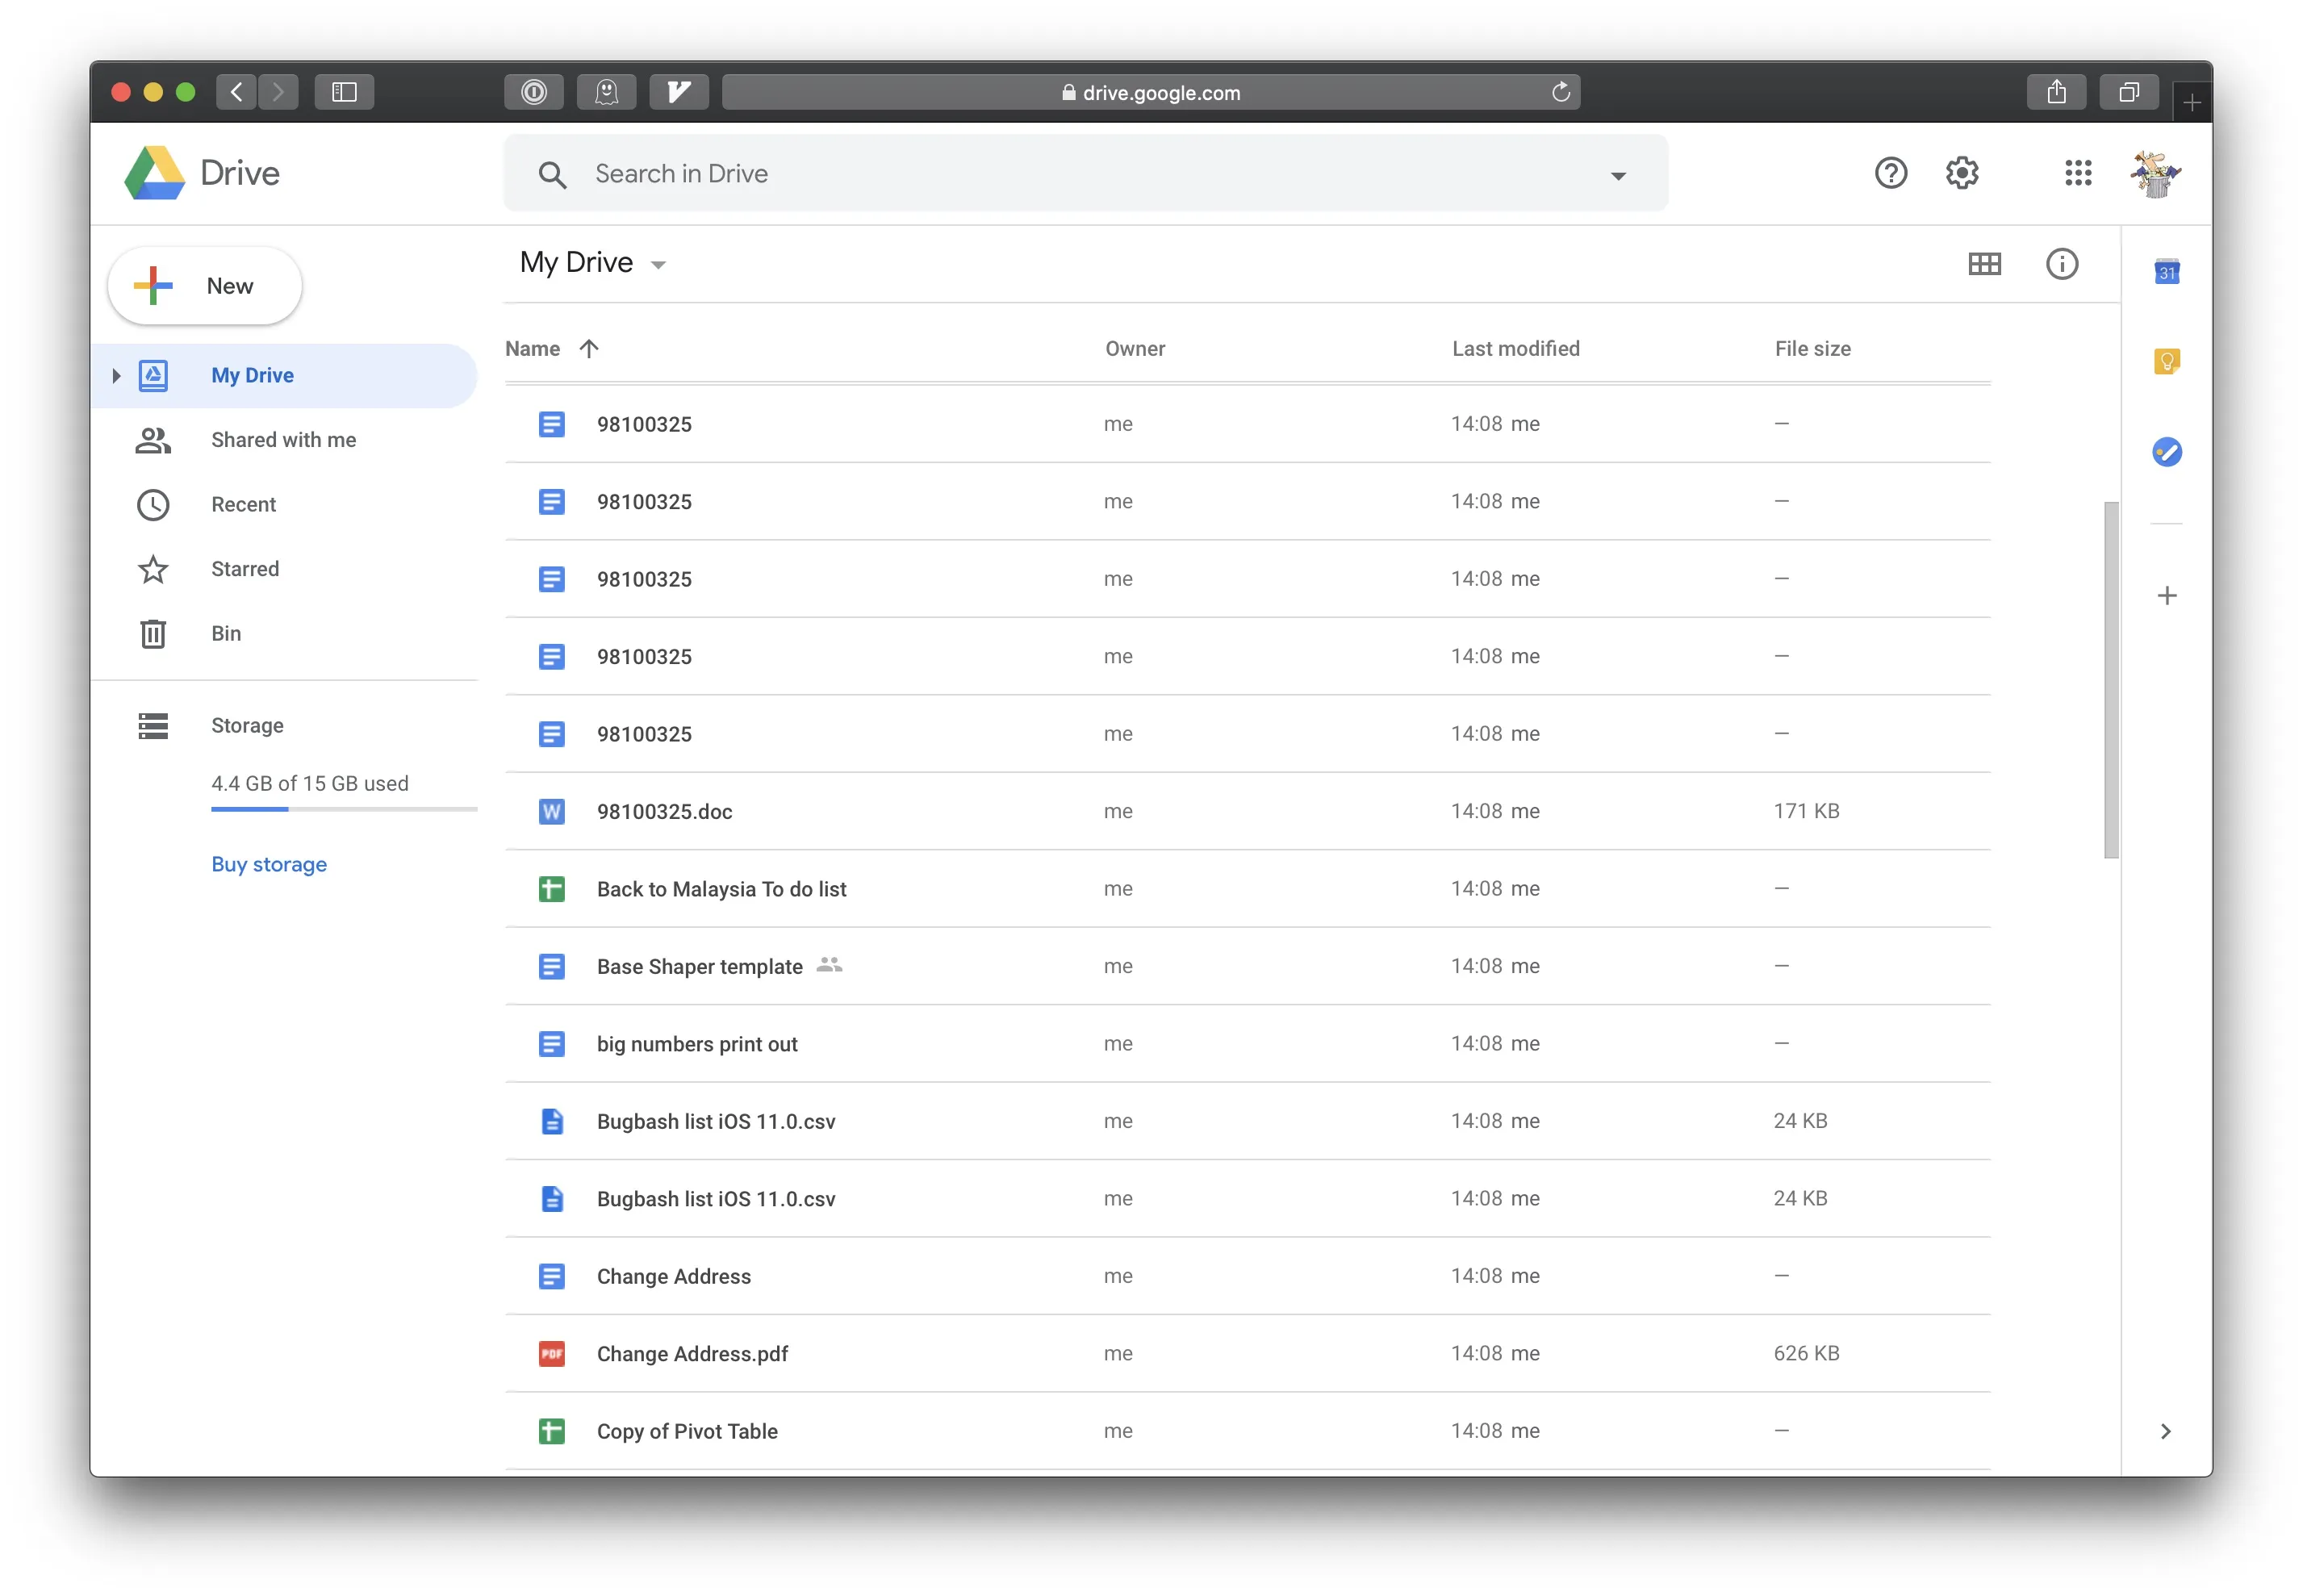
That is how my messy my Google Drive folder used to look like.
Its not my fault. Because when creating a new document on Google, the files are stored in the root folder of Google Drive.
Over time, they can easily clutter up the root home folder.
Root folder is the first location you see in Google Drive
Unfortunately there are no setting/option in Google to auto organize the files in Google Drive. I will need to clean up my Google Drive from time to time. Fortunately, this clean up task can be automated with (link)[Google Apps Script].
This Google Script tutorial will help guide you on how to make a Google App Script to automate cleaning up our Google Drive folder.
If you already a Google App Script expert - Feel free to get the final script here
Table of Contents
What is Google App script
Before we move further, lets define what is Google App Script.
Taken from Google Apps Script site
Google Apps Script is a rapid application development platform that makes it fast and easy to create business applications that integrate with G Suite. You write code in modern JavaScript and have access to built-in libraries for favorite G Suite applications like Gmail, Calendar, Drive, and more.
In other words - Google App Script:
- is JavaScript code.
- allows extension/customization of GSuite.
- are used to make addons.
Writing an App Script to get the root folder
Visit https://script.google.com/ which show your projects.

Lets create a new script. Click on ‘Create Apps Script’ on the same page. A web editor should be visible in your browser.
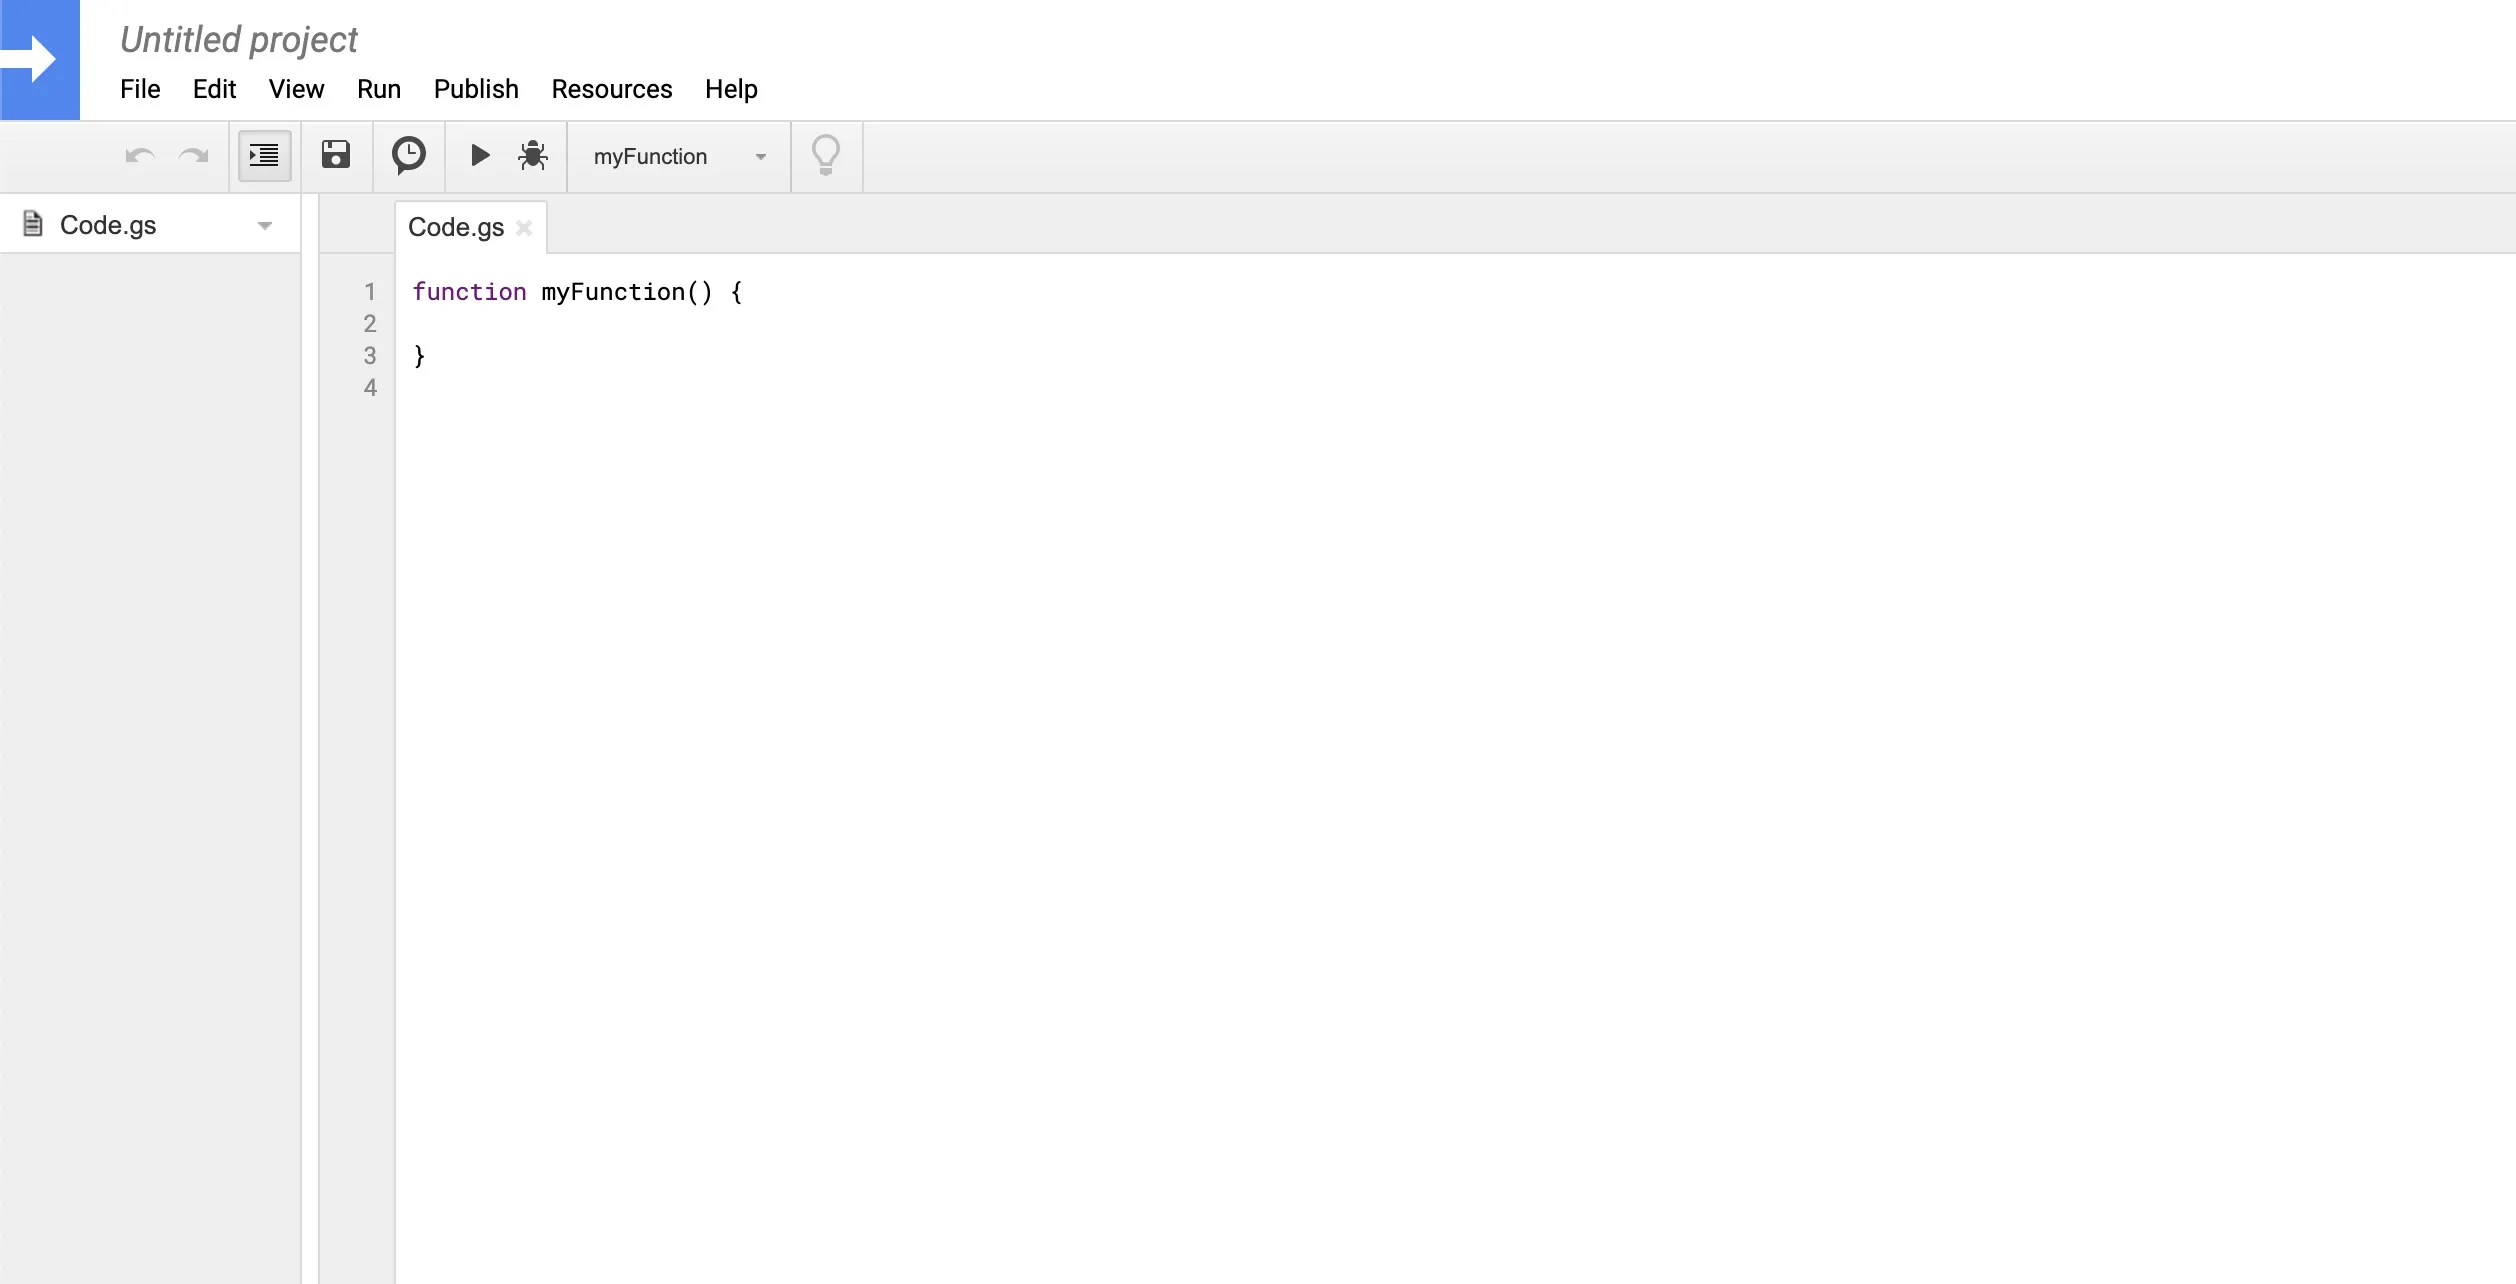
The web editor will be where you would spend most of your time tinkering with code.
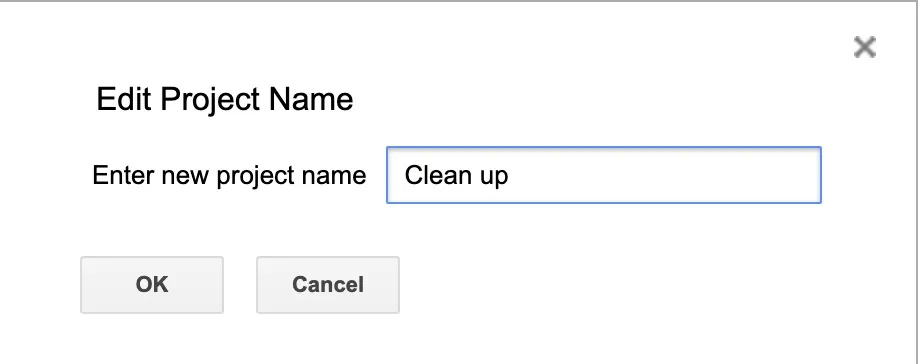
For now, lets give a name to our project. Click on the ‘Untitled project’ and give the project a name. I named this project Clean up.
First lets write some code to get the root folder and display the name. Replace the code in the web editor with the following:
function CleanUpRootDrive() {
  const rootFolder = DriveApp.getRootFolder()
  Logger.log(rootFolder)
}
Execute this code by pressing on the run button:

Since this is our first time executing some code, there will be an authorization request
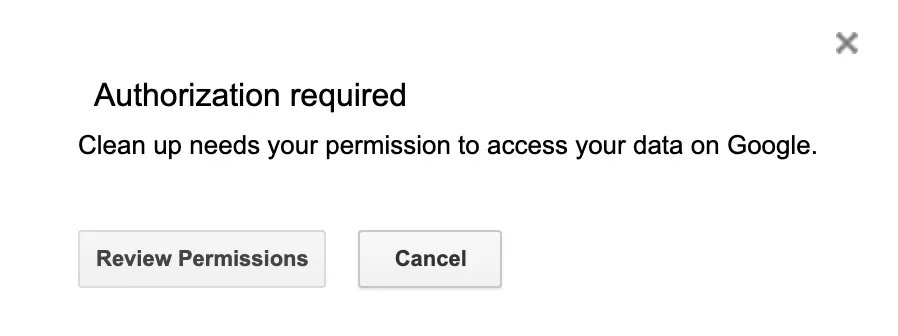
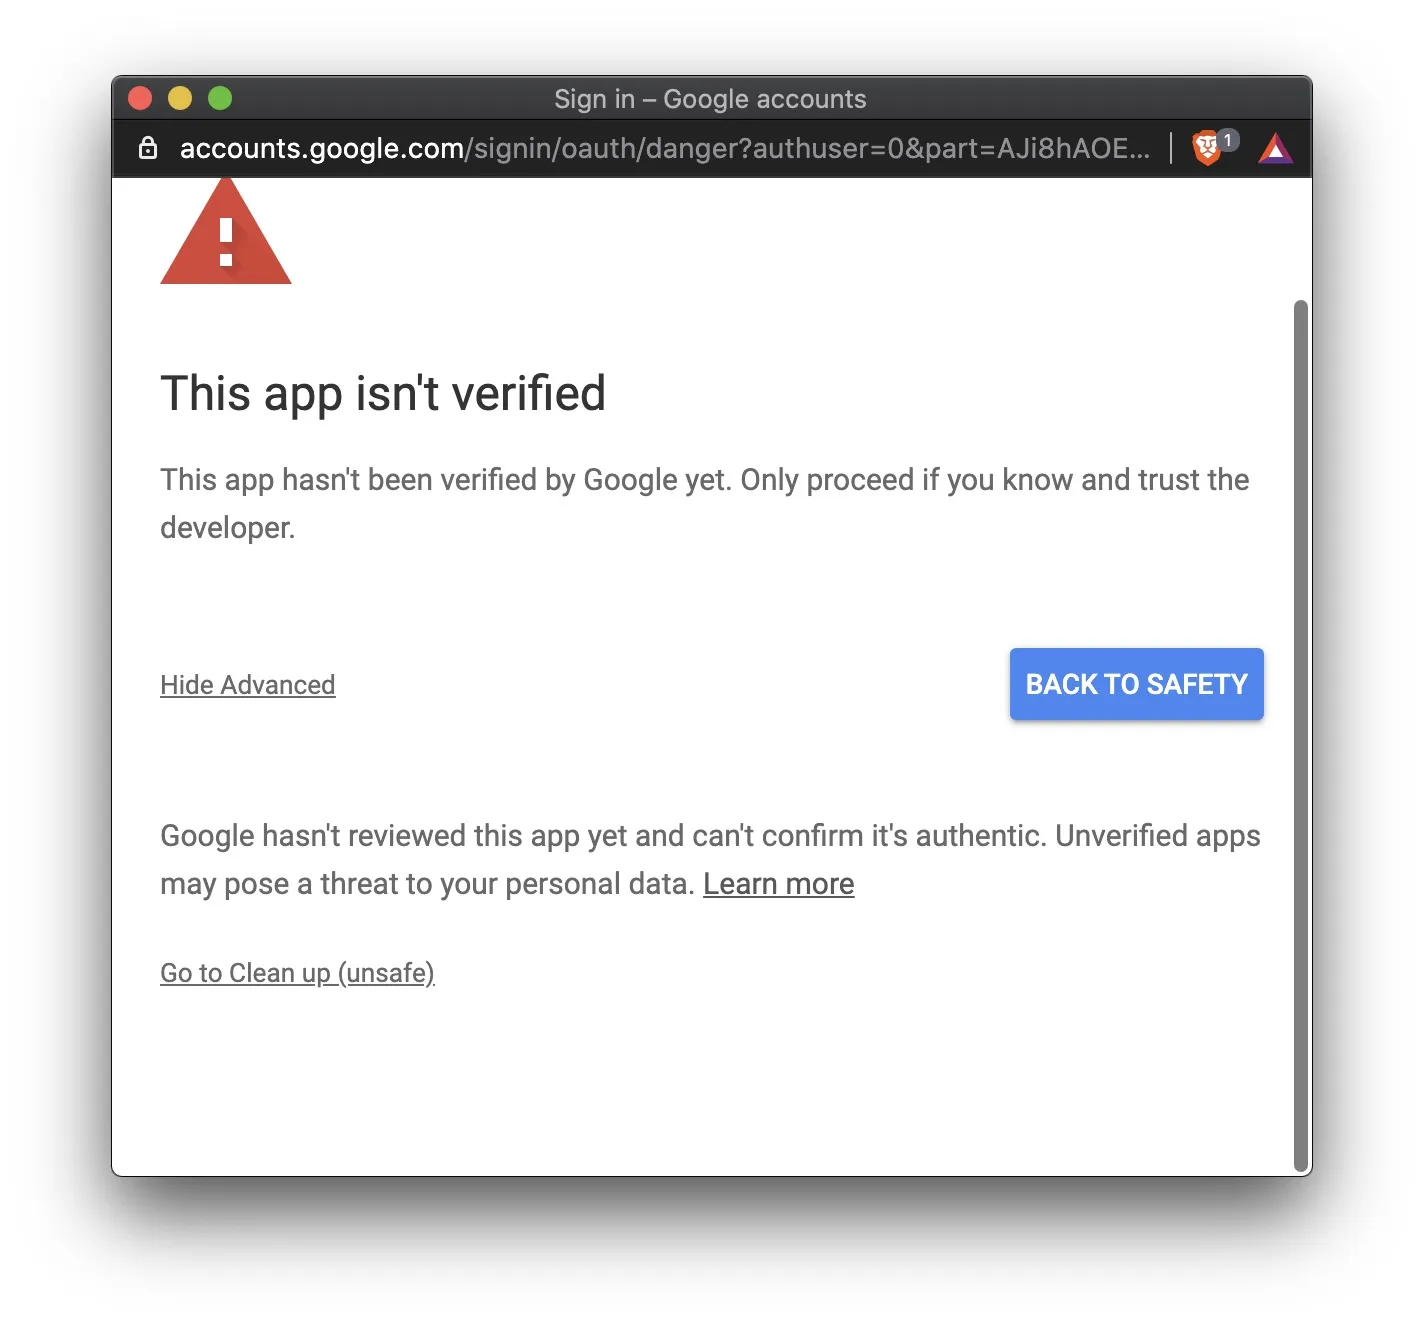
Click on review permissions. Since this is our script, we can just approve the permissions. The new error you will see is that Google has not verified our script yet.
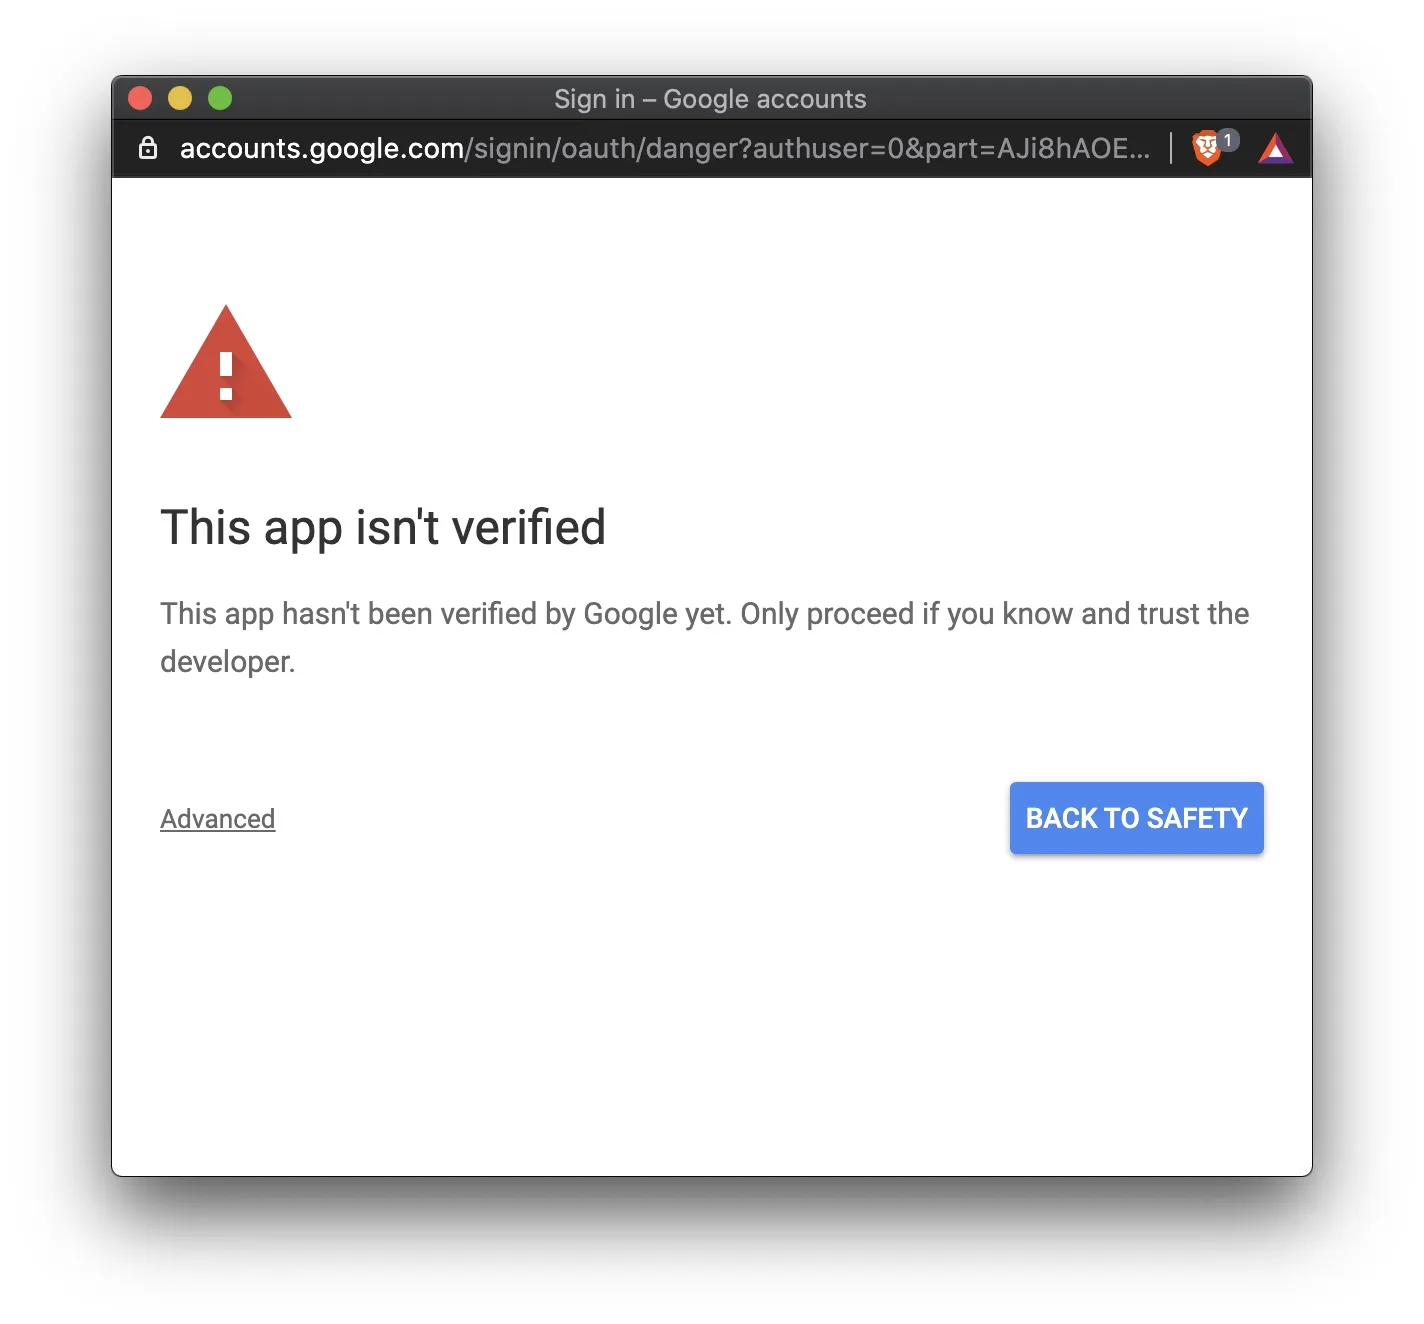
Click on the advance button and the option to go to the script.
After we have been given permission. Re-Execute this code again by pressing on the run button:
If all goes well, nothing should happen. Lets visit our logs to check if it works. Open the logs from the menu bar
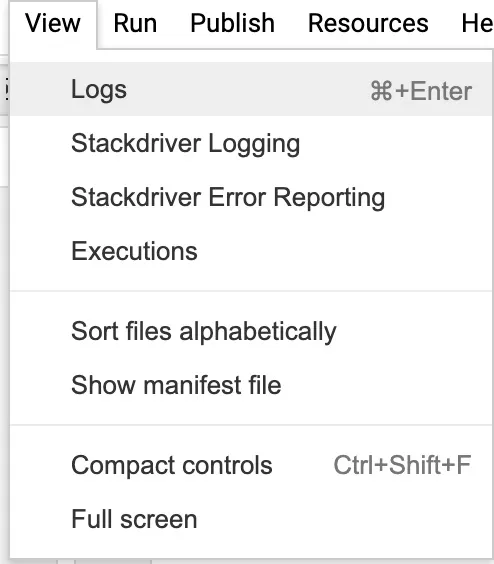
A log window should appear with the following output:
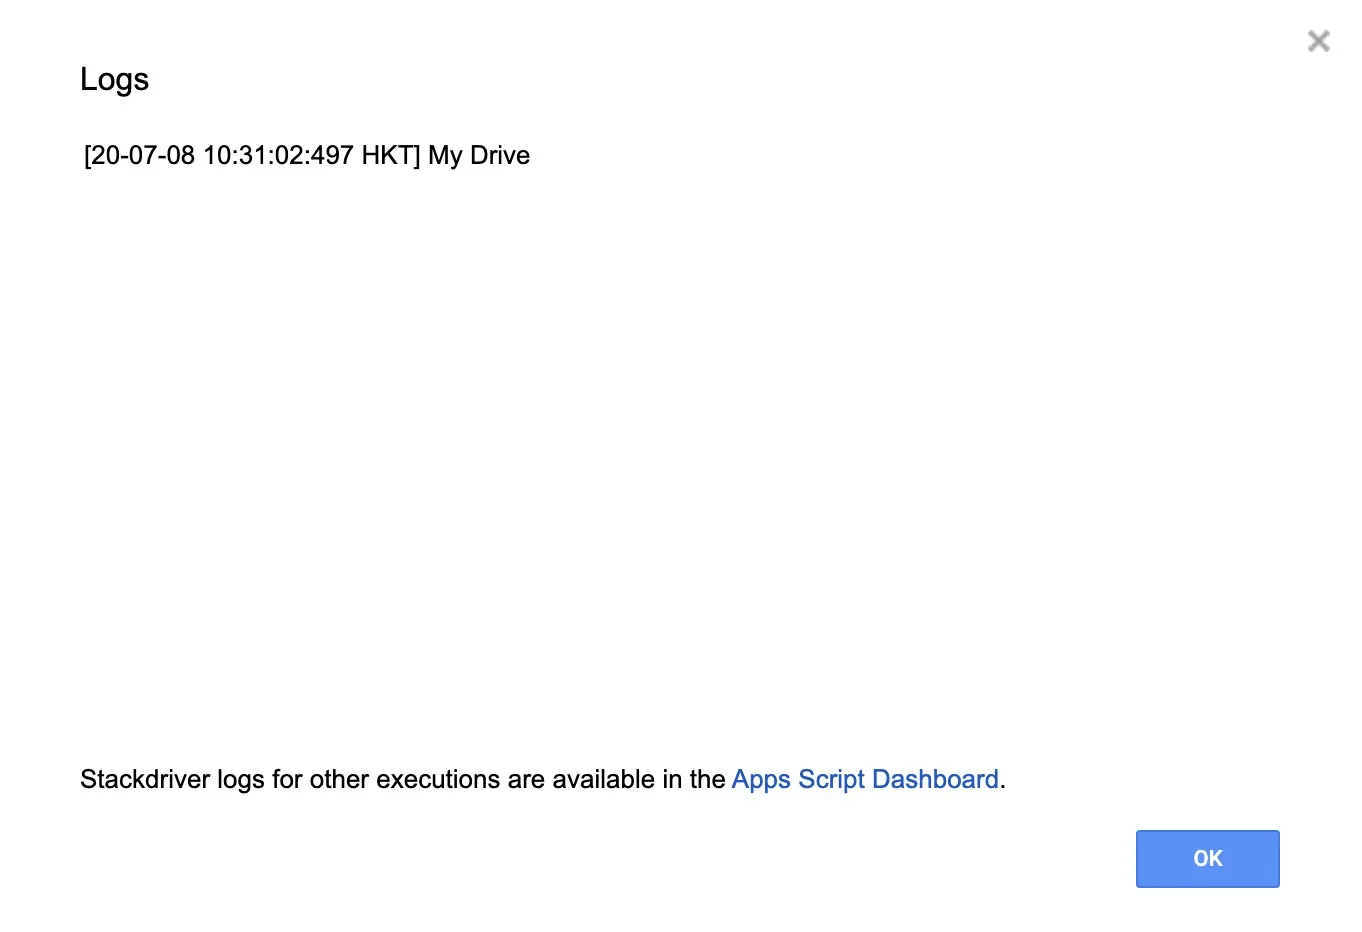
Great! Our script was able to retrieve the root folder and write its folder name to the log files.
Logger.log() is a great way to debug your code and ensure that everything works. In our example, without logging, we will not gain any feedback if our script was successful or not.
Before we continue, lets define our next steps for our script. Our script should do the following:
- Find the root folder of our Google Drive (covered in the steps above)
- Retrieve all the files in our Google Drive
- For each file, determine the type of file ( Google Sheets/ Google Docs )
- Create folders for that type if it does not exist.
- Move the file to folder.
Retrieve all the files in our Google Drive
Since we already have our Google Drive Root folder. We can now retrieve all the files in our Google Drive.
Update the script with the following changes:
function CleanUpRootDrive() {
  const rootFolder = DriveApp.getRootFolder()

  const rootFiles = rootFolder.getFiles() // 1
  while(rootFiles.hasNext()) {
    const file = rootFiles.next() // 2
    Logger.log(file)
  }
}
Our code above will now loop through all the files in the folder and print out the file name.
- getFiles() returns a series of files that are in the root folder.
- We loop over each file until we exhaust our list. And print out the file name
We now have our files. Next up is to determine which folder to move them to.
Determine the file type of each file
For each file, we want to determine its type. Once we know its type, we can sort them to its correct folders. Here are some examples:
- Google Sheet file should be store in spreadsheet folder.
- Google Docs should be store in document folder.
- PDF files should be store in pdf folder.
We can easily determine the file types by reading its mime type.
A MIME type is a label used to identify a type of data. It is used so software can know how to handle the data. With MIME, opening an image will open an image viewers instead of a text editor. MIME type has the following format ‘type/subtype’. Example: image/png
Back to the script - add the following method at the top of the file.
const getExtension = function(file) {
  var mime = file.getMimeType()
  var docType = mime.split("/").pop()
  return docType.split(".").pop()
};
This method gets the mime type of a file and returns the subtype. A google sheet file has the following mimetype:
application/vnd.google-apps.spreadsheet
The function above will remove all the other text and return spreadsheet.
Lets integrate this method to our script. Update the script:
function CleanUpRootDrive() {
  const rootFolder = DriveApp.getRootFolder()

  const rootFiles = rootFolder.getFiles()
  while(rootFiles.hasNext()) {
    const file = rootFiles.next()
    var extension = getExtension(file)
  }
}
Each file is passed to getExtension. The output of this method will be
used to determine which folder to move the file to.
Create folders for that type if it does not exist
Before we can move files to their folder, we need to find the folders and create them if they do not exist.
Lets update our script to do this.
function CleanUpRootDrive() {
  const rootFolder = DriveApp.getRootFolder()

  const rootFiles = rootFolder.getFiles()
  while(rootFiles.hasNext()) {
    const file = rootFiles.next()
    var extension = getExtension(file)
    const folders = rootFolder.getFoldersByName(extension)
    var folder
    if(folders.hasNext()){
      folder = folders.next()
    } else {
      folder = rootFolder.createFolder(extension)
    }
  }
}
Move the file to folder.
Now folder will contain the folder that we will move the file into.
The final change is simple,
function CleanUpRootDrive() {
  const rootFolder = DriveApp.getRootFolder()

  const rootFiles = rootFolder.getFiles()
  while(rootFiles.hasNext()) {
    const file = rootFiles.next()
    var extension = getExtension(file)
    const folders = rootFolder.getFoldersByName(extension)
    var folder
    if(folders.hasNext()){
      folder = folders.next()
    } else {
      folder = rootFolder.createFolder(extension)
    }
    file.moveTo(folder)
  }
}
Calling file.moveTo(folder) will move out file to their respective folder.
If you have successfully reach this part, your Google Drive root folder should
look organized.
Automating this on every hour
Notice that we still need to run this script manually. We can automate this by creating a trigger. A trigger can be a scheduled job on a fixed interval.
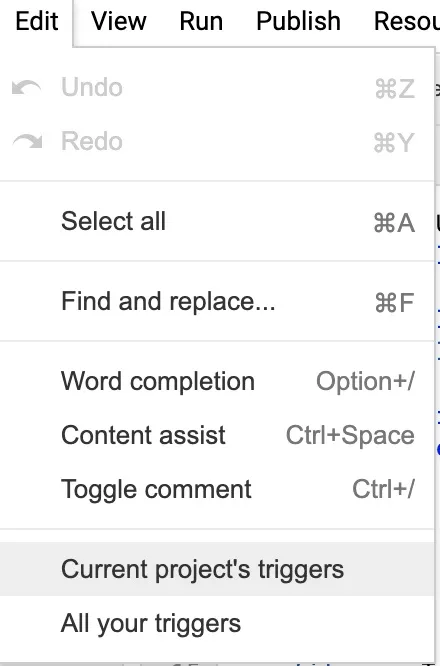
Open the edit menu item and select all triggers.
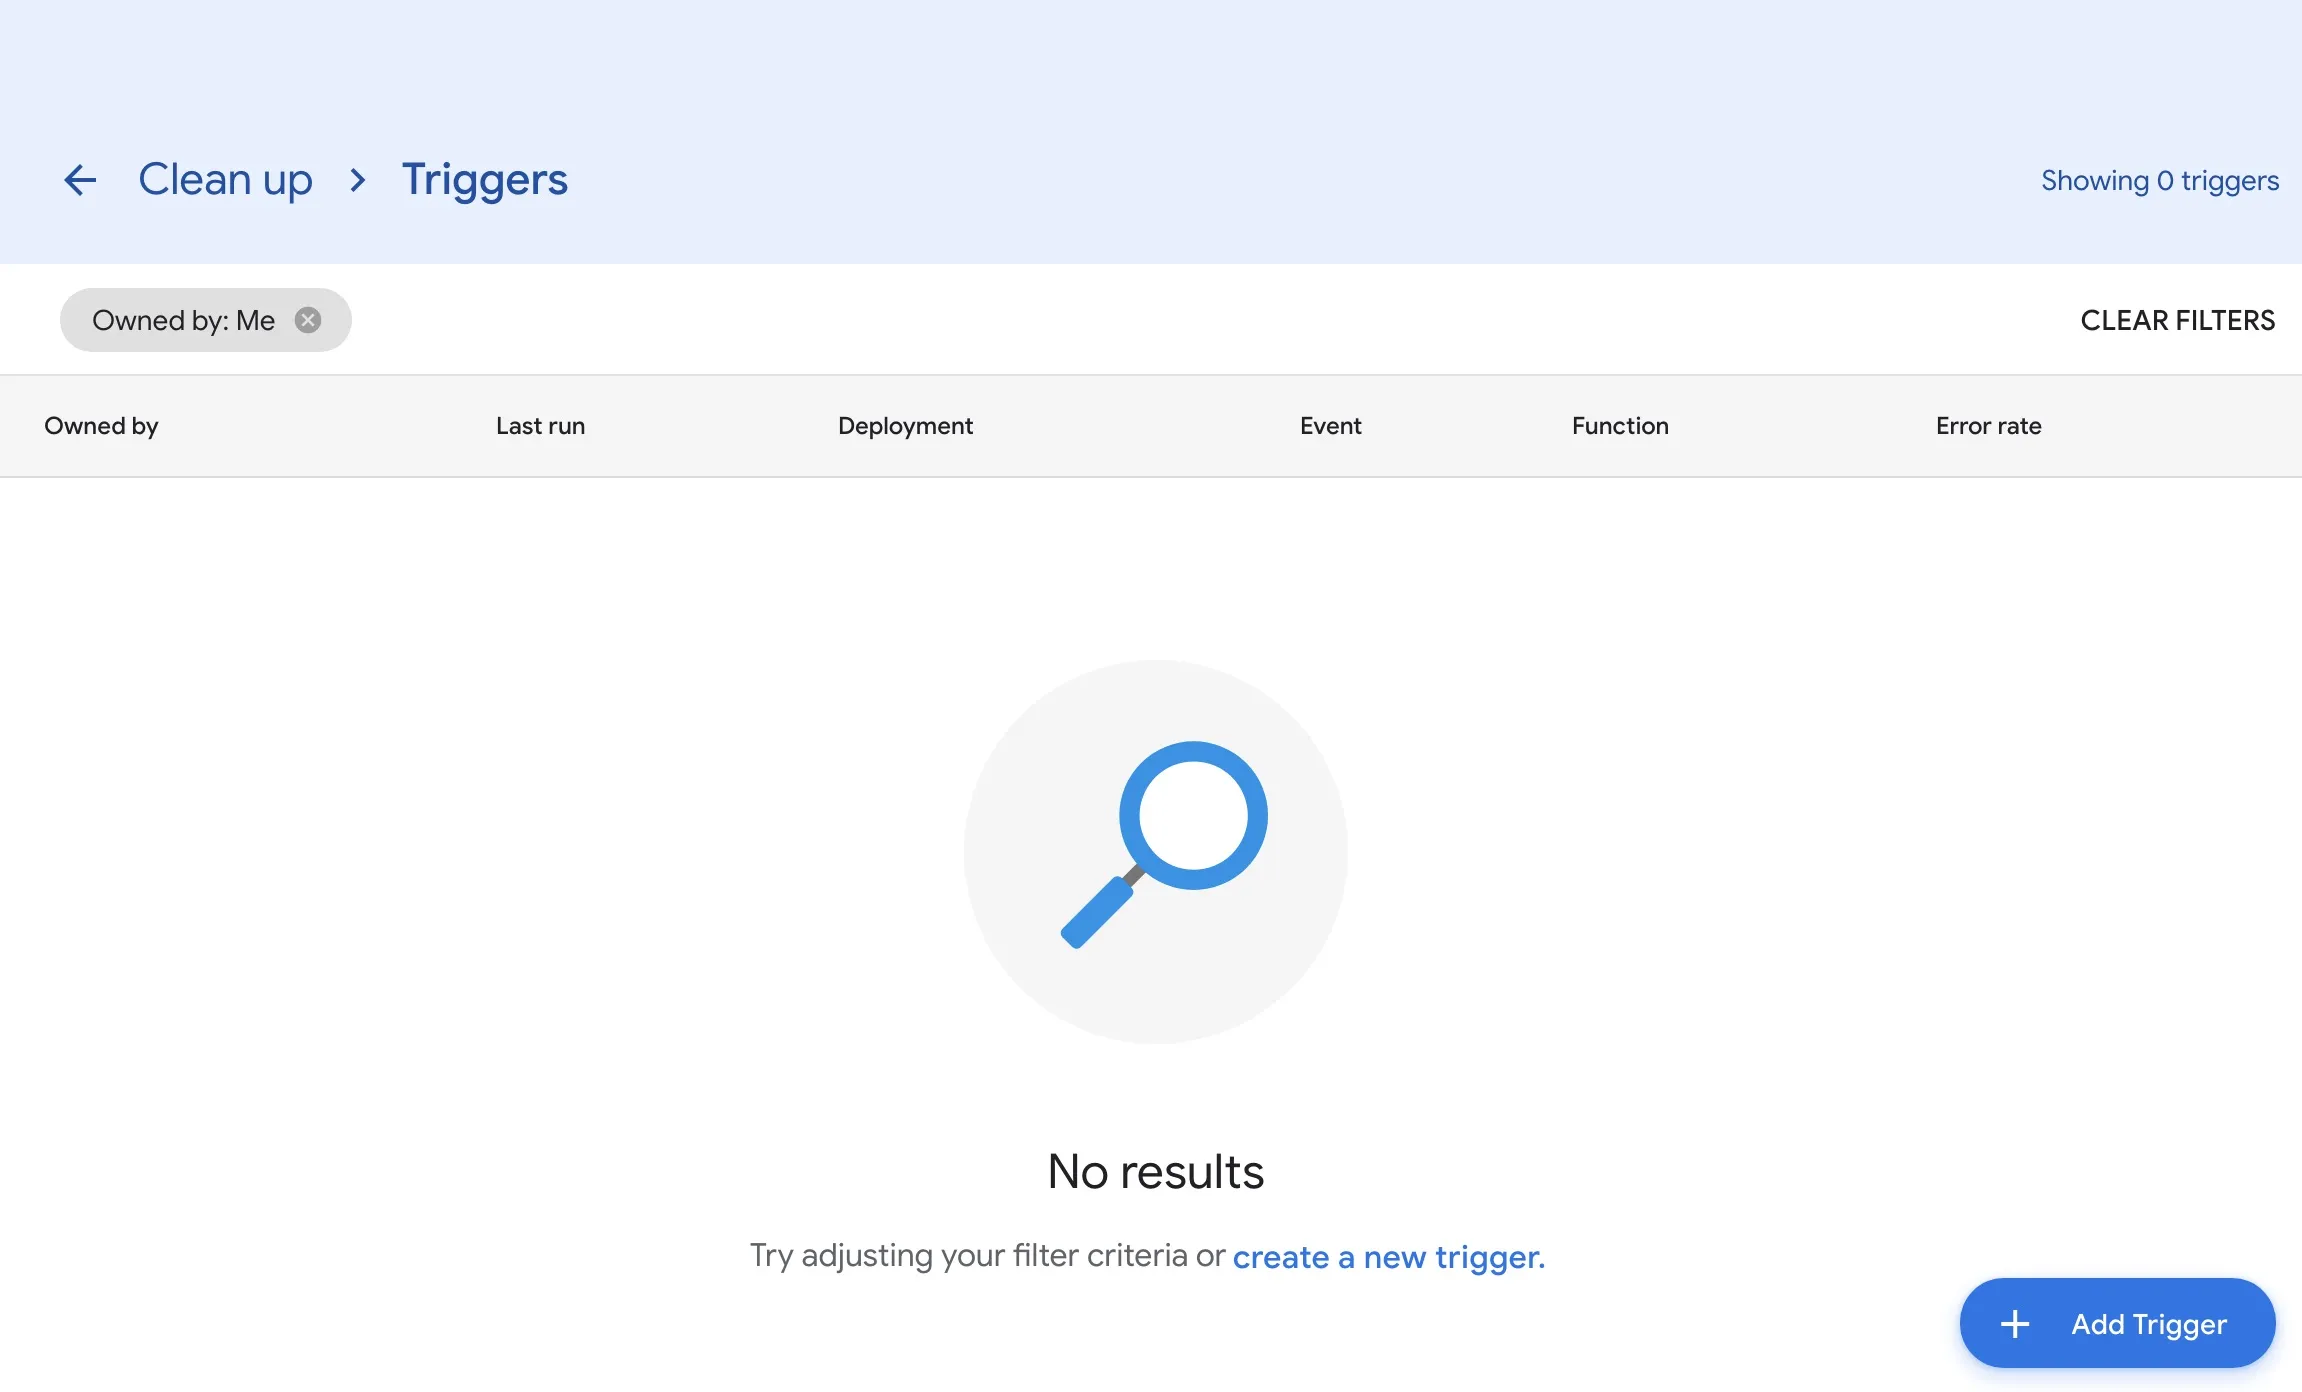
This will bring you to the Triggers listing page. Click add a new trigger.
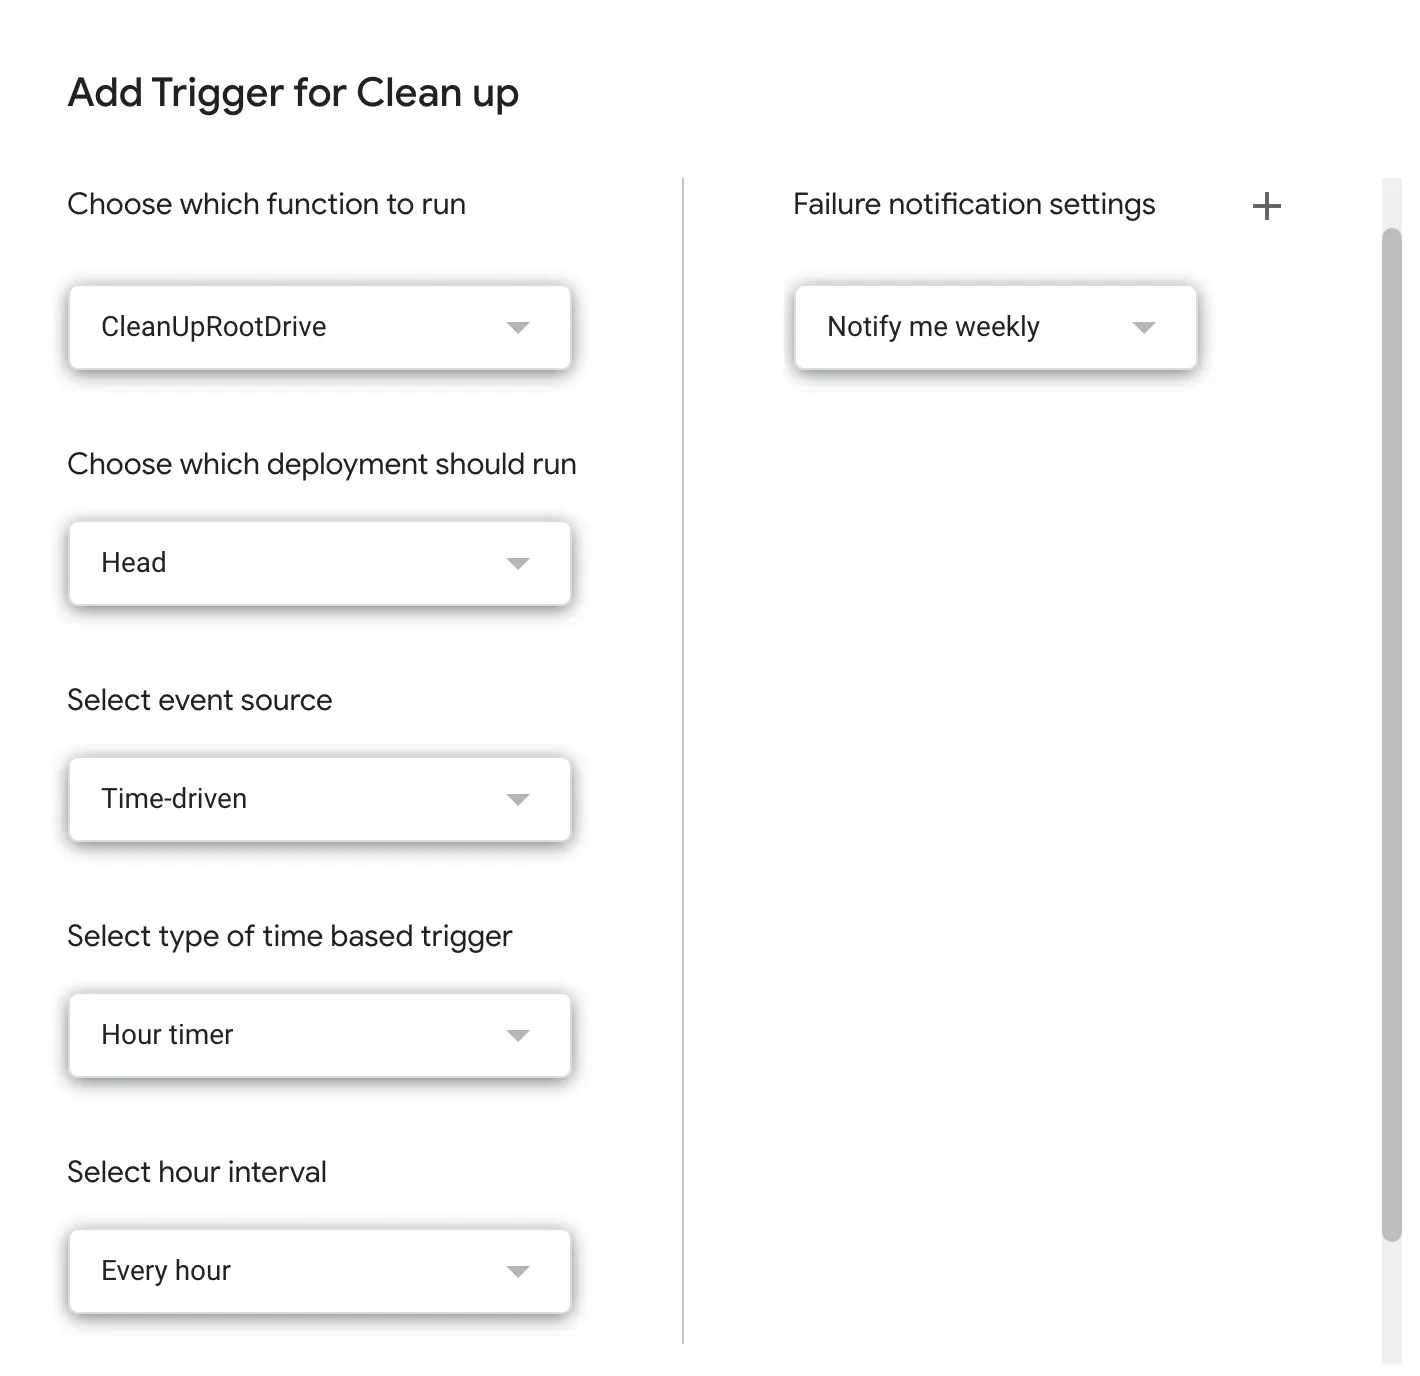
Fill in the trigger details like date and time. Finally click on save
Your trigger should now appear on the trigger listing.
On every hour, your script will be executed and clean up your Google drive folder.
Final Script with enhancements
The final version of the script that does a few extra things.
- Sends an email to you when files are moved to folders. It includes the file names and the folders
- The script only operates on files that you own. Some files are shared by other and not owned by you. So you cant move them
Get the final script here!
Closing
Google Apps Script is very handy, powerful and easy to use. A lot of task can be automated easily with Google App Script. If the task can not be supported by Google App Script, you can use external APIs to support your script. To learn more on Google App Script, I highly recommend to follow the Apps Script guide
Reference: